
This post may contain affiliate links. Please read our disclosure policy.
Incredibly light & airy Cranberry Orange Cheesecake is the perfect dessert for Christmas. The best homemade cheesecake you’ll ever make.
After living in California for 6 months, I hosted my first get-together.
Truth be told, I was a bit nervous because people always expect a little more from a food blogger. Hosting for a few women comes easy to me, but hosting for couples and I start stressing. My party was a success, but the one item that stole the show was this Cranberry Orange Cheesecake.
Everything you see here is made from scratch… the crust, filling, and cranberry topping.
This Cranberry Orange Cheesecake recipe is involved and will take a couple of hours to make, but I highly recommend taking some time out and making this delicious cheesecake for the holidays. The best part is you can make this cheesecake up to one day in advance.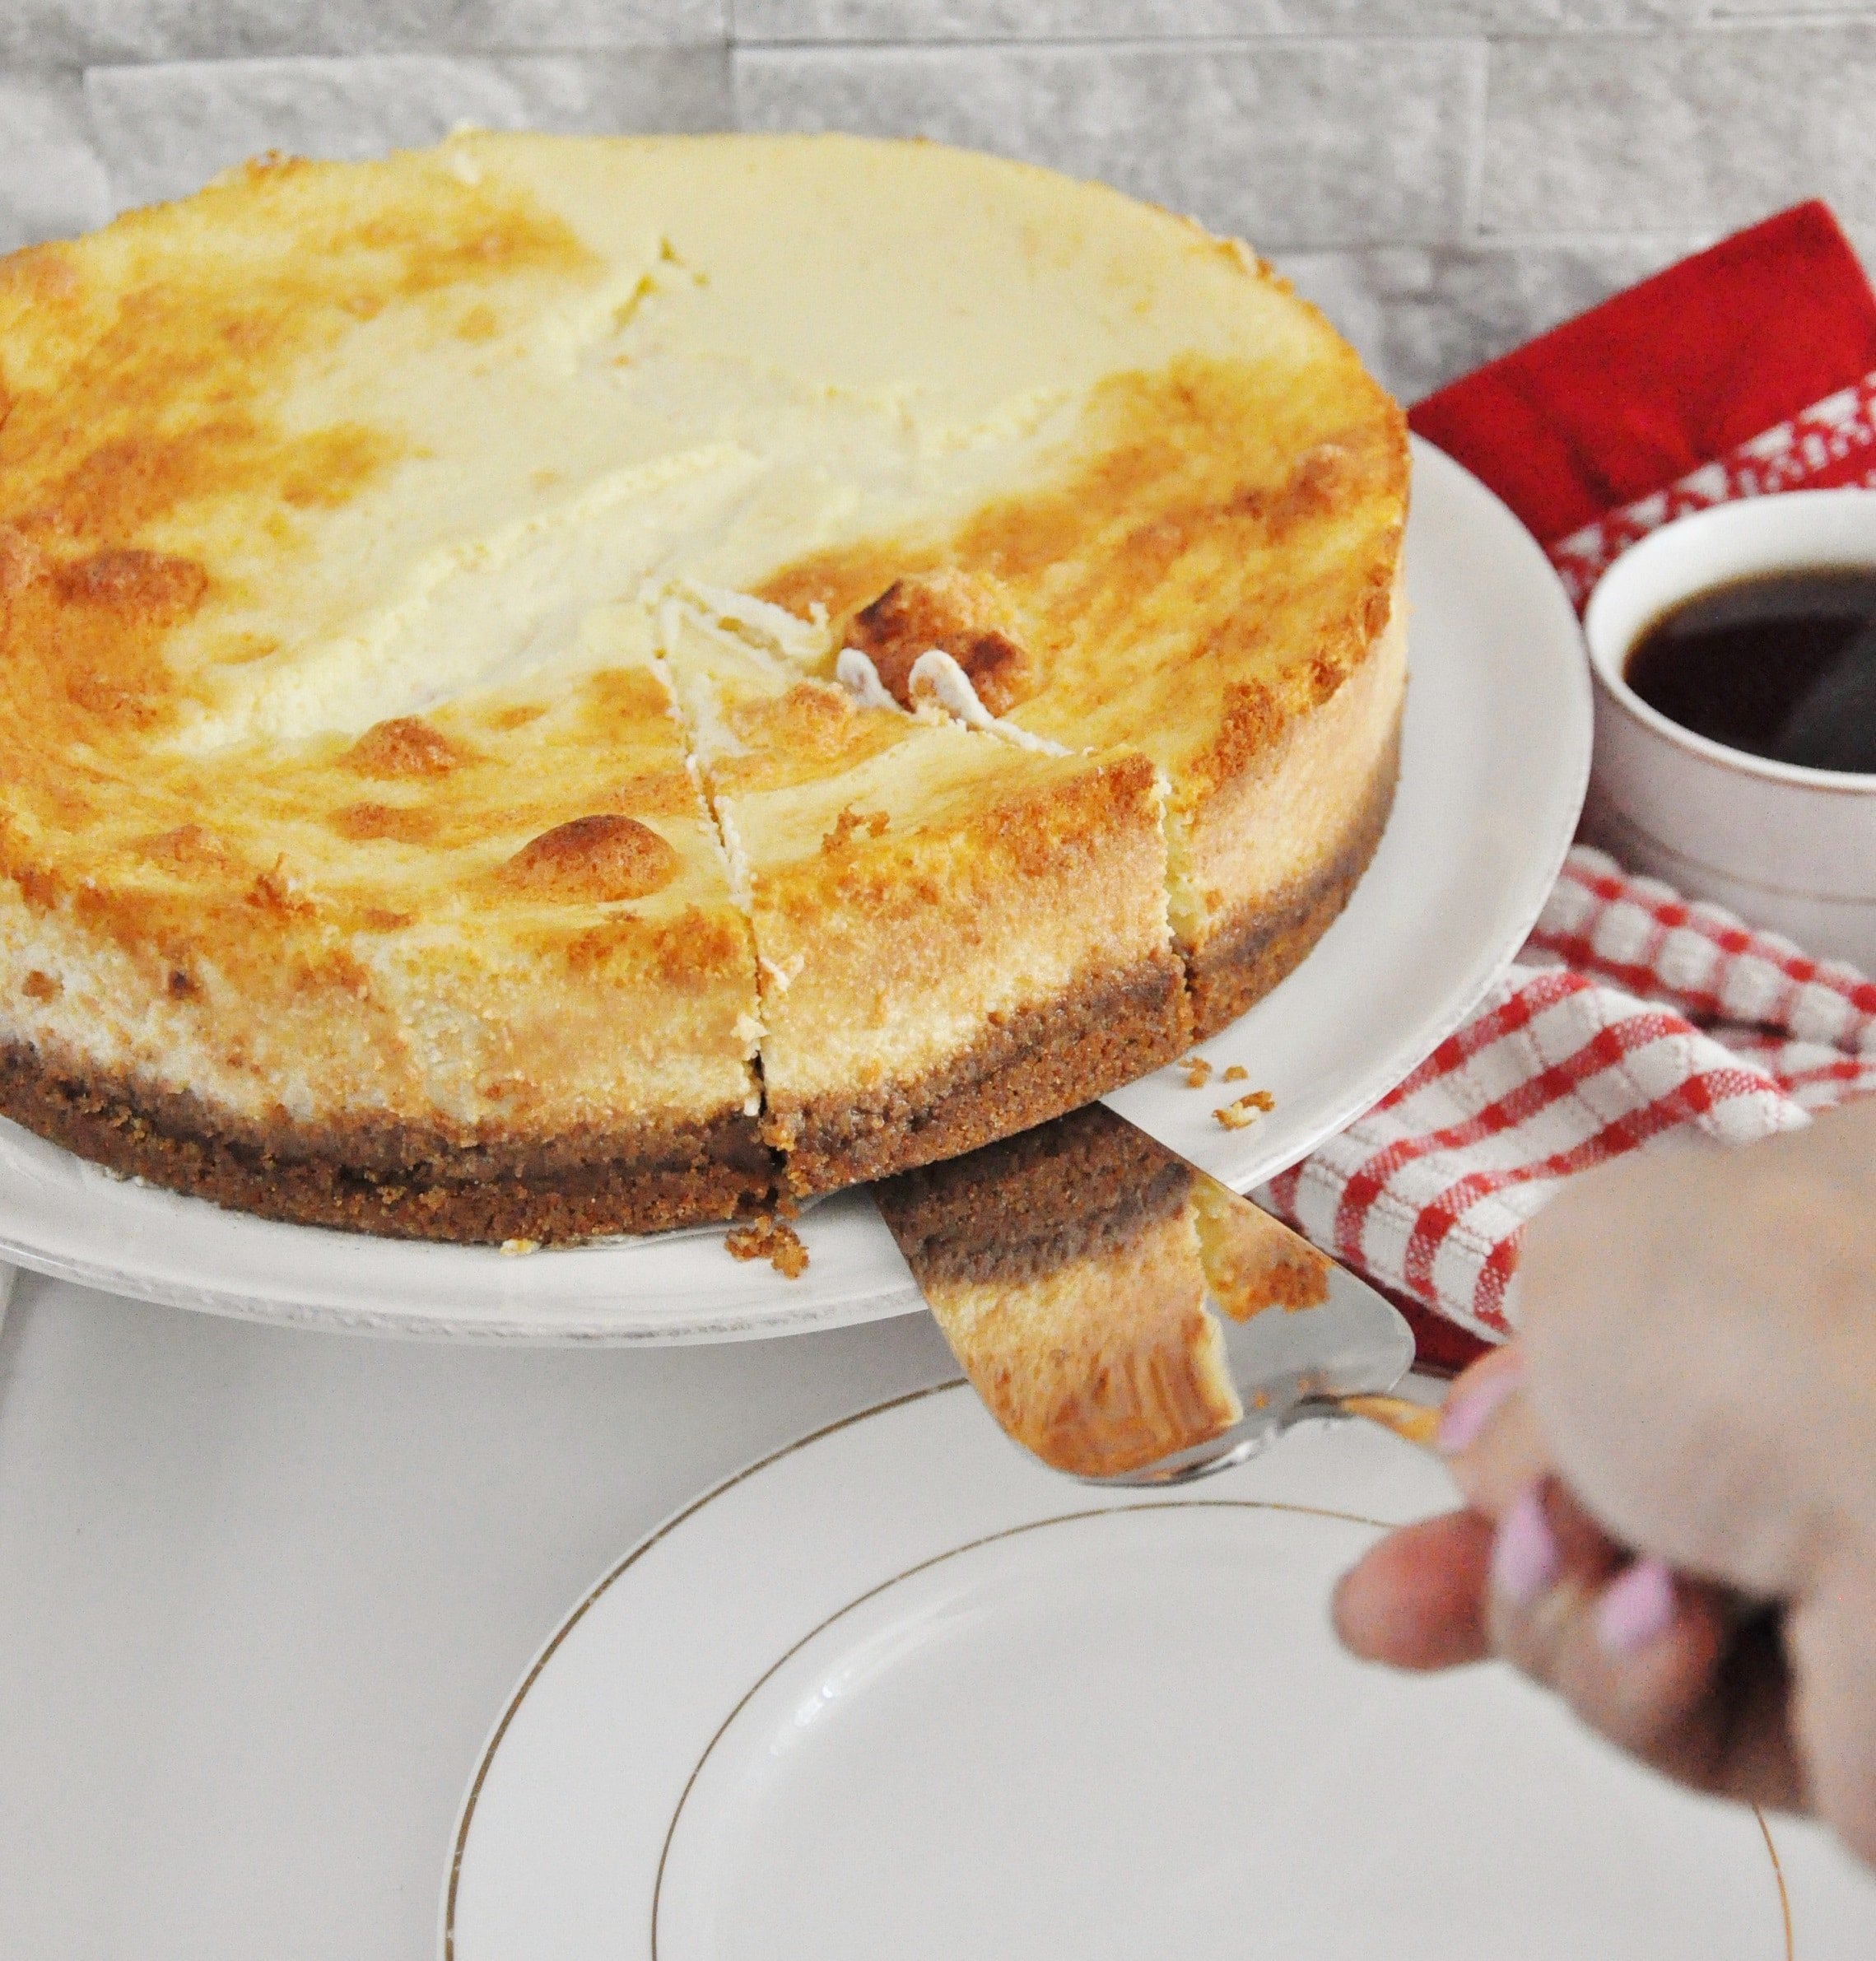
It’s an indulgent, light & airy cheesecake that can easily feed about 16 people assuming you’re serving thin slices.
I served all 9 people at my party and then gave each couple a big slice to go. I knew they would enjoy it even more at home in their pjs.
This Christmas I suggest making this festive cheesecake… it’s amazing, and trust me, everyone will be raving about it. What are you waiting for? Christmas? I just had to. 🙂
This Cranberry Orange Cheesecake is:
Rich, yet light
Melts in your mouth
Not dense, it’s light
Indulgent
Heavenly
Out of this world
Scrumptious
Ambrosial
Perfect for Christmas
how to make cranberry orange cheesecake recipe step by step?
Make the crust
1. Preheat oven to 325 degrees F.
2. In a food processor, add all the ingredients for the crust.
3. Pulse until a powdery mixture is formed.
4. This is what you should have.
5. Transfer the mixture to a springfoam pan lined with parchment paper shaped in a circle. Make sure you spray the bottom of the pan with butter or coconut oil, and then line with parchment paper.
6. Using a cup measurement, pat the crust mixture down.
7. Into the oven for 10 minutes.
8. Your crust is done. Let it cool.
Make the cheesecake filling
1. Reduce the oven temperature to 300 degrees. Let it preheat while you make the filling.
2. Combine all the following ingredients in a food processor – cream cheese, ricotta cheese, sugar, 4 egg yolks (save the egg whites for later), heavy cream, zest of 1 orange, vanilla extract, and salt . Note: I accidentally added them to a large bowl.
3. Pulse/Blend all the ingredients in the food processor.
4. This is your filling. It should smooth.
5. Now transfer the filling to a large mixing bowl.
6. In a separate bowl, beat the egg whites until firm peaks form.
7. Once the egg whites are done, transfer it to the filling bowl.
8. FOLD, do not mix, FOLD the egg whites into the filling. This will help create a light cheesecake, and not dense.
9. Pour the cheesecake filling into the springfoam pan with the crust.
10. Tap down so everything is even. Smooth the mixture on top.
11. Line a tray with foil paper. Place the cheesecake onto the tray and carefully place it into the oven. Bake for 30 minutes at 300 degrees.
12. Once done, raise the oven temperature to 325 degrees. Leave the cheesecake in there and let it continue baking. Bake the cheesecake for another 30-35 minutes until the top is golden brown and the center is jiggly.
13. Turn off the oven. Open the oven door and leave the cake in there for 3 hours. The center will fall slightly – that’s okay.
14. After 3 hours, cover the cheesecake with foil paper and place into the refrigerator for at least 4 hours and upto 24 hours.
Make the topping
1. In a pot, combine all the ingredients for a topping and cook over medium heat. Stir occasionally.
2. Cover with a lid.
3. This is what you’ll have after 5-7 minutes. Don’t make the topping too sweet since we want the flavors to balance one another.
4. Unmold the refrigerated cheesecake using a sharp knife.
5. Carefully place the cheesecake onto a cake stand and carefully remove the springfoam pan bottom and parchment paper.
6. Serve each cheesecake slice with the cranberry orange topping. Enjoy!
Enjoy!


More Christmas Desserts!
- Red Velvet White Chocolate Chip Cookies
- Levain Bakery Chocolate Chip Walnut Cookies
- Cranberry Orange Bundt Cake with White Chocolate Glaze
- Ginger Molasses Cookies
- Cranberry Almond Coffee Cake
- Fudgy Cranberry Walnut Brownies

Cranberry Orange Cheesecake
INGREDIENTS
for the crust
- 6 ounces graham crackers, I used Honey Maid brand
- 1 1/4 cups walnuts
- 1/4 cup white sugar
- 5 tbsp unsalted butter, melted
for the cheesecake filling
- 1/2 pound cream cheese, room temperature
- 8 ounces whole milk ricotta cheese
- 1 cup sugar
- 4 large eggs, yolks and egg whites separated at room temperature
- 2/3 cup heavy cream
- zest of 1 orange, finely grated
- 1 tsp vanilla extract
- 1/8 tsp salt
for the topping
- 8 ounces organic fresh cranberries, I used Trader Joe’s
- 1/4 cup freshly squeezed orange juice
- zest of 1 orange, finely grated
- 1/2 cup white sugar
- 1/4 cup water
INSTRUCTIONS
Make the crust
- Preheat oven to 325 degrees F.
- In a food processor, add all the ingredients for the crust.
- Pulse until a powdery mixture is formed.
- This is what you should have.
- Transfer the mixture to a springfoam pan lined with parchment paper shaped in a circle. Make sure you spray the bottom of the pan with butter or coconut oil, and then line with parchment paper.
- Using a cup measurement, pat the crust mixture down.
- Into the oven for 10 minutes.
- Your crust is done. Let it cool.
Make the cheesecake filling
- Reduce the oven temperature to 300 degrees. Let it preheat while you make the filling.
- Combine all the following ingredients in a food processor – cream cheese, ricotta cheese, sugar, 4 egg yolks (save the egg whites for later), heavy cream, zest of 1 orange, vanilla extract, and salt . Note: I accidentally added them to a large bowl.
- Pulse/Blend all the ingredients in the food processor.
- This is your filling. It should smooth.
- Now transfer the filling to a large mixing bowl.
- In a separate bowl, beat the egg whites until firm peaks form.
- Once the egg whites are done, transfer it to the filling bowl.
- FOLD, do not mix, FOLD the egg whites into the filling. This will help create a light cheesecake, and not dense.
- Pour the cheesecake filling into the springfoam pan with the crust.
- Tap down so everything is even. Smooth the mixture on top.
- Line a tray with foil paper. Place the cheesecake onto the tray and carefully place it into the oven. Bake for 30 minutes at 300 degrees.
- Once done, raise the oven temperature to 325 degrees. Leave the cheesecake in there and let it continue baking. Bake the cheesecake for another 30-35 minutes until the top is golden brown and the center is jiggly.
- Turn off the oven. Open the oven door and leave the cake in there for 3 hours. The center will fall slightly – that’s okay.
- After 3 hours, cover the cheesecake with foil paper and place into the refrigerator for at least 4 hours and upto 24 hours.
Make the topping
- In a pot, combine all the ingredients for a topping and cook over medium heat. Stir occassionally.
- Cover with a lid.
- This is what you’ll have after 5-7 minutes. Don’t make the topping too sweet since we want the flavors to balance one another.
- Unmold the refrigerated cheesecake using a sharp knife.
- Carefully place the cheesecake onto a cake stand and carefully remove the springfoam pan bottom and parchment paper.
- Serve each cheesecake slice with the cranberry orange topping. Enjoy!


Hi, could you help me find an egg substitute for this recipe?
HI Mayank, I haven’t tested this and honestly I would just Google an eggless cheesecake recipe. You can then flavor it with orange and cranberry. I don’t recommend going eggless with this recipe. Sorry.
I made this cheesecake for thanksgiving and loved how it turned out! I did cheat though and used premade crust but it was still delicious! I made the cranberry sauce as well but we all liked the cheesecake without it so we just ate it on it’s own. One thing to note is that I love how light this cheesecake turns out but it’s lighter texture does make it harder to cut pieces with nice sharp edges (if you care about the aesthetics of it when serving).